Creating and Assigning User Permission Sets to AppExchange and Salesforce Users
This information on creating and assigning user permission sets to AppExchange and Salesforce users is subject to change as enhancements are made to Salesforce.
To grant the Required Scopes for Stand-Alone AppExchange Integration, you must have System Administrator user profile permissions, or you must complete the following instructions to create a new or an existing user with custom permissions.
Creating a New AppExchange or Salesforce Permission Set
This AppExchange and Salesforce permissions set information is subject to change as enhancements are made to Salesforce.
Complete the following steps to create a new AppExchange or Salesforce permission set to a user. These steps are a prerequisite to assigning the permission set to a new or an existing user.
-
After signing in to Salesforce, go to Setup.
-
In the search box, search for
Permission Setand select the same. -
Click New to create a permission set.
-
Enter a name under the Label field and leave the License as None, so that it can be assigned to a different user and permission set licenses.
-
Click Save to create the permission set, which redirects you to the Permission Set Overview page.
-
Click the System Permissions link.
-
Click the Edit button to update the permissions.
-
Based on the required SaaS Management integration tasks, enable the appropriate AppExchange or Salesforce system permissions. For more information, see the following table.
AppExchange System Permissions SaaS Management Integration Tasks API Enabled
API Only User
Download AppExchange Packages
Manage Package Licenses
View Setup and Configuration
View All UsersApplication Discovery
SSO Application Access
SSO Application RosterSalesforce System Permissions SaaS Management Integration Tasks API Enabled
API Only User
View Roles and Role Hierarchy
View Setup and Configuration
View All Profiles
View All UsersApplication Access
Application Roster
License Information
Product Consumption
SetupAPI Enabled
API Only User
View Roles and Role Hierarchy
View Setup and Configuration
Manage Users
Enabling the Manage Users permission will by default enable the following permissions: Assign Permission Sets, Manage Internal Users, Manage IP Addresses, Manage Login Access Policies, Manage Password Policies, Manage Profiles and Permission Sets, Manage Roles, Manage Sharing, Reset User Passwords and Unlock Users, View All Users.Application Access
Application Roster
License Information
License Reclamation
Product Consumption
Setup -
Click Save to update the permission set.
-
Proceed to the appropriate section:
Assigning the AppExchange or Salesforce Permission Set to a New User
This AppExchange and Salesforce permissions set information is subject to change as enhancements are made to Salesforce.
After Creating a New AppExchange or Salesforce Permission Set, you can assign the AppExchange or Salesforce permission set to a new user by completing the following steps.
- After signing in to Salesforce, go to Setup and select Home.
- From the Administration menu, go to the Users dropdown list and select Permission Sets.
- In the search box, search for the permission set you wish to assign to the new user.
- Select the permission set.
- Click Management Assignment Assign User.
- Continue to step 5 in Assigning the AppExchange or Salesforce Permission Set to an Existing User.
Assigning the AppExchange or Salesforce Permission Set to an Existing User
This AppExchange and Salesforce permissions set information is subject to change as enhancements are made to Salesforce.
After Creating a New AppExchange or Salesforce Permission Set, you can assign the
- After signing in to Salesforce, go to Setup > Administration > Users > Users.
- Select the appropriate user profile to edit.
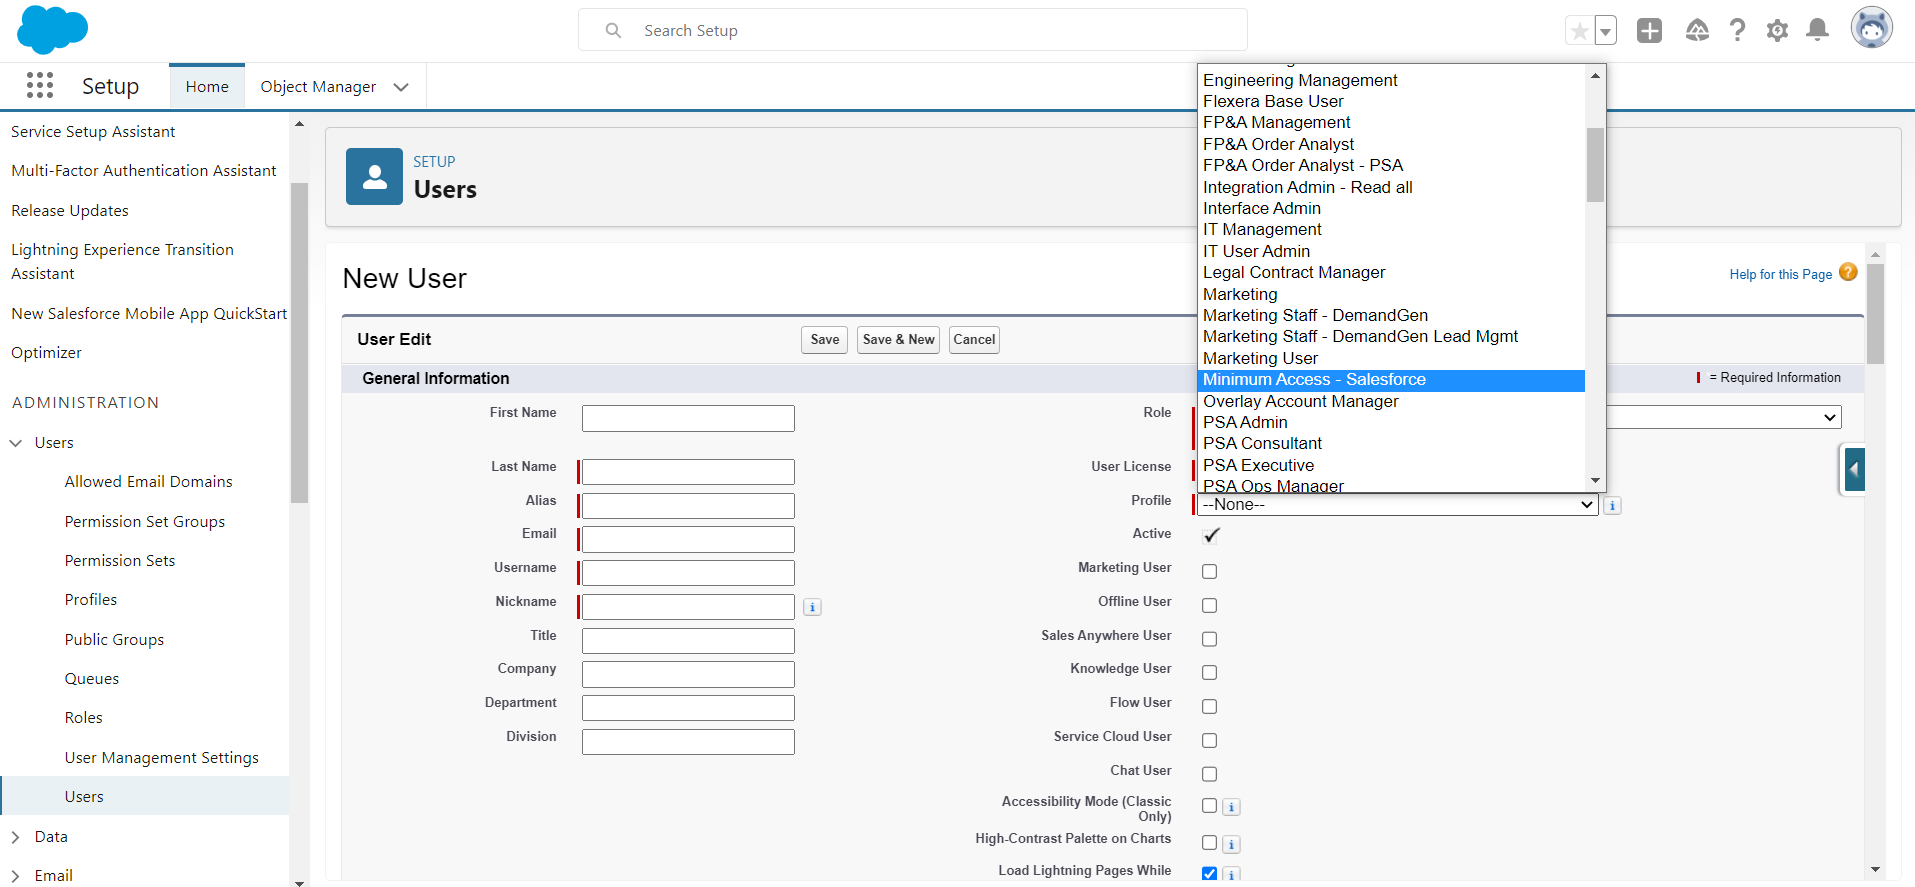
- In the User License dropdown, select Salesforce as the license type.
- In the Profile dropdown, select the Minimum Access - Salesforce profile to assign to the user.
- Scroll down to Permission Set Assignment:
- Click Add to enable the created permission set.
- Click Save to complete the assignment.
- Click Save to update the user profile.